WUDFLY printing guide

From printer bed to first flight.

You do not need a specialist machine to print a WUDFLY aircraft. A reliable modern FDM printer, lightweight PLA and the supplied print guidance are enough to get started.

Specialist printer Not required
Enclosure Not required
Reference material ColorFabb LW-PLA
Development printer Bambu Lab X1 Carbon

01 — Equipment

What printer do you need?

Printer brand matters less than dependable extrusion and the ability to control the settings used by foaming lightweight PLA.

Core requirements

Most current FDM/FFF printers are suitable when they provide the following basic capabilities.

  • Hotend capable of at least 250°C
  • Standard 0.4 mm nozzle
  • Heated print bed
  • Adjustable flow and temperature
  • Adjustable speed and cooling
  • A build volume large enough for each supplied section
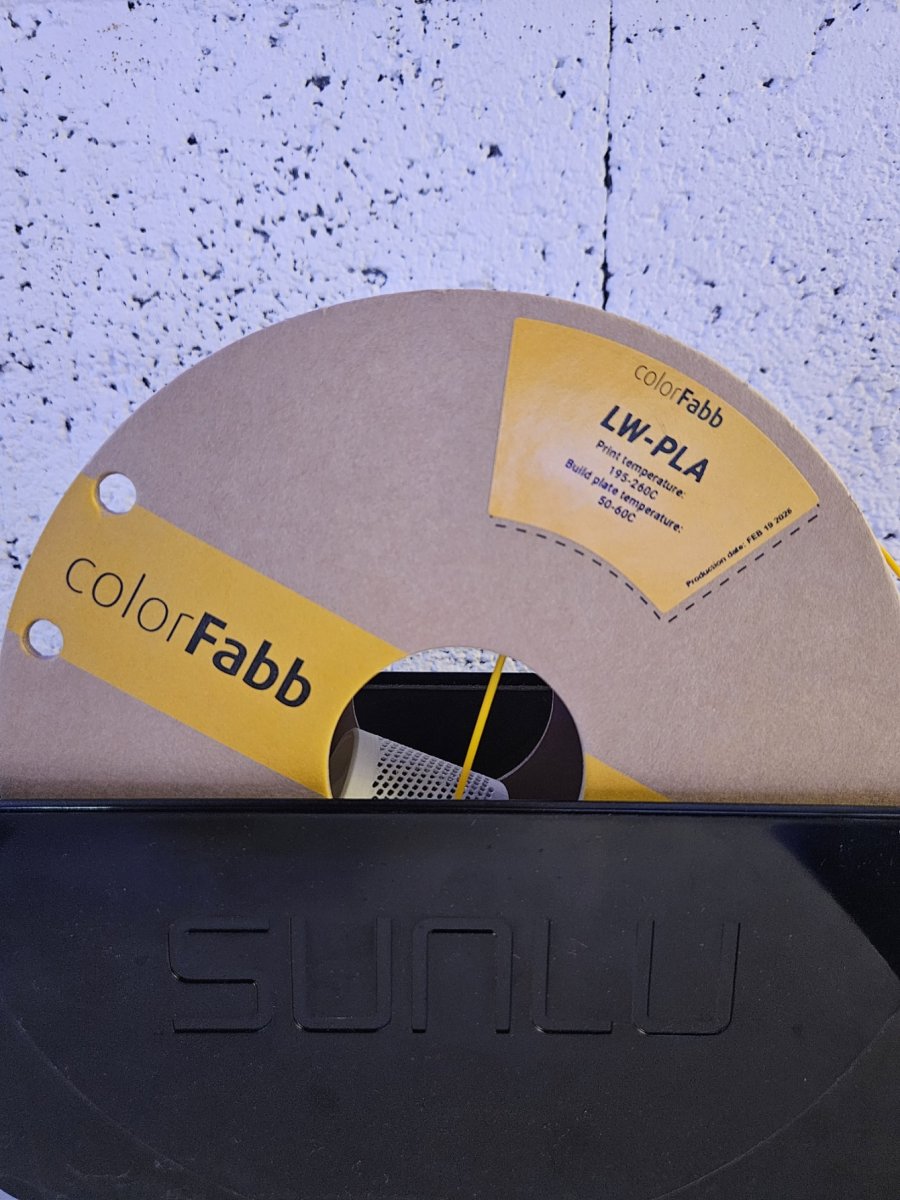
WUDFLY reference material A roll of ColorFabb LW-PLA loaded into the WUDFLY development printer

02 — Reference material

ColorFabb LW-PLA is the reference material.

All WUDFLY aircraft printed and developed so far have used ColorFabb LW-PLA for the main airframe structure. The published airframe masses, supplied print profiles and reference part weights are therefore based on this filament.

I have found it consistent, reliable and very well suited to lightweight aircraft printing. Using the same material gives builders the closest starting point to the aircraft that have actually been assembled, tested and flown by WUDFLY.

Other foaming LW-PLA filaments may work, but expansion, extrusion behaviour, density and finished part mass can vary. When using another material, calibrate it carefully and compare the completed parts with the reference masses supplied with the aircraft.

Development use All current WUDFLY airframes
Published masses Based on ColorFabb LW-PLA
Recommended Yes — but not mandatory

WUDFLY is not affiliated with, sponsored by or paid by ColorFabb. It is recommended because it is the material used throughout WUDFLY development and flight testing.

01 / AIRFRAME

LW-PLA

Used for most of the aerodynamic structure. Foaming LW-PLA keeps the airframe light while reproducing accurate airfoils, washout and internal features.

02 / FLEXIBLE

TPU

Used where controlled flexibility or vibration resistance is useful, including thin hinges, flexible joints and selected mounting parts.

03 / DURABLE

PETG

Used for harder-wearing, higher-load or warmer areas such as motor mounts, attachment points, latches and frequently handled parts.

03 — Workflow

How the process works.

The aircraft package gives you a tested starting point. You prepare the jobs, print the individual sections and then follow the aircraft build documentation.

01Choose an aircraft
02Download the files
03Load the supplied profile
04Prepare the print jobs
05Print and inspect
06Install the electronics
07Check, launch and fly
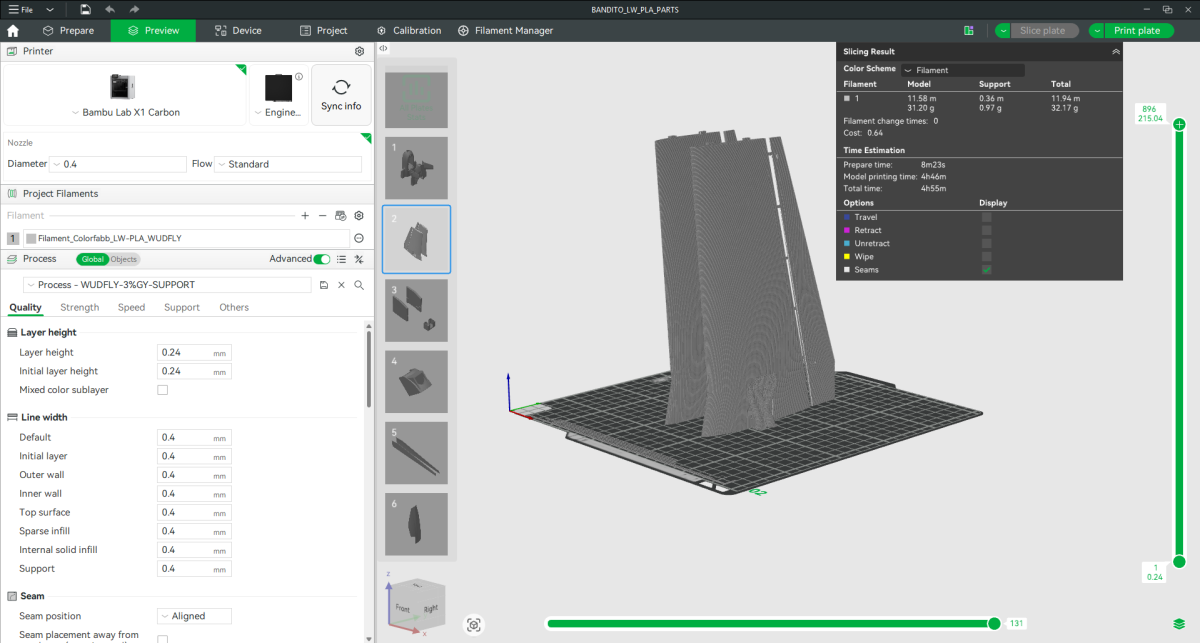
WUDFLY aircraft wing sections arranged in the slicer using the supplied print preparation
Aircraft parts prepared in the slicer The supplied profiles and build notes provide the intended starting point for material, process, orientation and support setup.

Conventional sliced parts

Not dependent on vase mode.

WUDFLY aircraft use conventionally sliced components. This allows local reinforcement, low infill where required, controlled support placement and more freedom in how each part is designed.

The print profile is the starting point, but finished mass and fitment still matter. Different machines, nozzles, filament batches and environments can require small adjustments.

04 — Print jobs

What comes off the printer.

A complete aircraft is split into manageable jobs. The parts can be produced progressively over a few evenings without continuously supervising the machine.

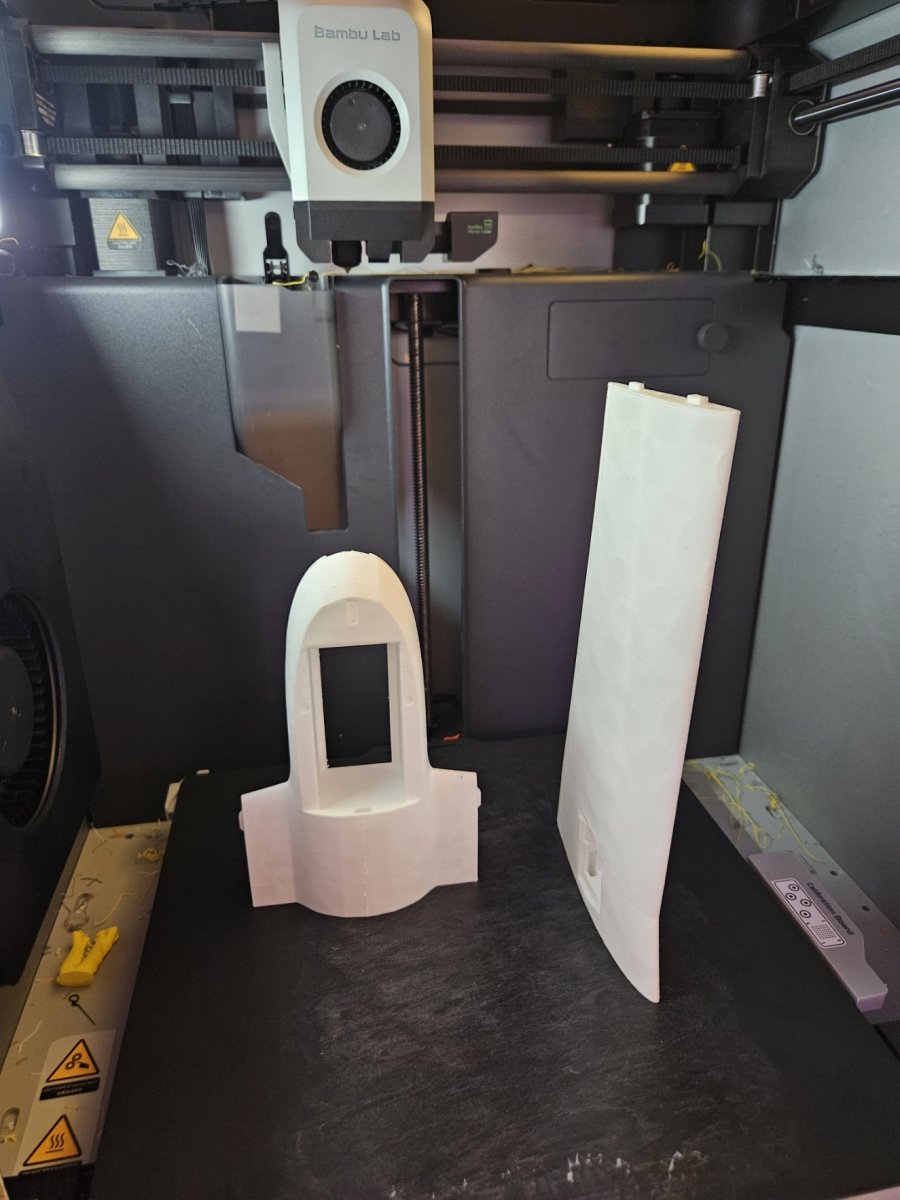
Lightweight WUDFLY aircraft parts after printing and before assembly
Printed parts before assembly Remove strings, blobs and support marks that affect fitment, then check alignment and part mass before gluing the airframe.

Representative BANDIT jobs

Printed over several separate runs.

Exact time depends on the printer and settings. These examples show the scale of the main jobs in the tested BANDIT workflow rather than a guaranteed total.

FuselageApprox. 4 hr 49 min
Wing sectionsApprox. 4 hr 1 min
Complete airframeAround 13 hours
Smaller partsMostly under one hour

Confirm the current part list and profile notes supplied with the aircraft before starting a complete build.

05 — Why print?

More than a cheap airframe.

Printing keeps the airframe structure inexpensive to reproduce, while also making accurate small-aircraft geometry practical and repeatable.

01

Reprint after damage

WUDFLY airframes are glued assemblies, so the practical advantage is being able to print a fresh structure after serious damage rather than replacing the complete aircraft and electronics package.

02

Reuse the expensive equipment

The flight controller, motor, receiver, servos, camera and other electronics can be transferred into a newly printed structure.

03

Build accurate geometry

Airfoil sections, progressive washout, internal wiring channels, cooling paths and mounting features can be reproduced consistently.

04

Use the same equipment again

Once you have a suitable printer and electronics, the same setup can support replacement airframes and very different future aircraft.

~74 g BANDIT filament mass

The printed airframe is the inexpensive part.

A BANDIT airframe uses approximately 74 g of filament. In practical terms, a 1 kg roll can support roughly ten complete airframes while leaving allowance for calibration pieces, spare airframes and occasional failed prints.

06 — Compatibility

Examples of suitable printers.

This is not an exhaustive list. Compatibility by specification means the machine has the basic capability required, not that every model has been personally tested by WUDFLY.

Printer or family
Status
Notes
Bambu Lab X1 Carbon Tested by WUDFLY

The printer used to develop and test the current WUDFLY profiles.

Bambu Lab P1S, P2S, A1 and P1P Compatible by specification

Have the core temperature, extrusion and control capability needed for LW-PLA.

Prusa MK4S and CORE One+ Compatible by specification

Open-frame and enclosed options with the required basic control and temperature range.

Creality Ender-3 V3 and K1C Compatible by specification

Examples of affordable open-frame and enclosed machines with suitable capabilities.

Elegoo Centauri Carbon and Anycubic Kobra S1 Compatible by specification

Modern alternatives with the temperature range, build volume and extrusion control required.

Other modern FDM printers Calibrate and verify

Often suitable when well calibrated. Compare the resulting part weights with the supplied references.

07 — Common questions

Before you start.

The technical profile page contains the detailed settings. These answers cover the main questions before choosing a printer or aircraft.

Do I need an enclosed printer?
No. An open-frame or enclosed printer can be used. Reliable extrusion, temperature control and first-layer performance are more important.
Do I need a Bambu Lab printer?
No. The current profiles are developed on a Bambu Lab X1 Carbon, but other properly calibrated FDM printers can print lightweight aircraft parts.
Do the aircraft use vase mode?
No. WUDFLY aircraft use conventionally sliced parts, allowing local reinforcement, controlled infill and supports where the design needs them.
Must I use ColorFabb LW-PLA?
It is recommended because it is the material used for all current WUDFLY development, published masses and profile testing. Other foaming LW-PLA may work, but must be calibrated and checked against the reference part masses.
Can I use standard PLA instead?
Do not assume that normal PLA is a direct substitute. It can substantially change finished mass and aircraft loading. Follow the material guidance supplied for the specific aircraft.
What should I check before assembly?
Check part mass, layer bonding, alignment, equipment clearance and dry fit. Remove only the strings, blobs and support marks that affect assembly; cosmetic perfection is not the goal.
Where are the detailed settings?
Use the Print Profiles page for the downloadable profile pack, baseline temperatures, flow, cooling, part orientation and material-specific notes.

Ready to build?

Pick a plane and print it.

Go directly to the technical profiles when you are ready to prepare the printer, or explore the current aircraft releases first.

Search